As the students return to Carleton and campus life resumes in earnest, you may notice some changes in the IdeaLab and the AT offices in the Weitz Center for Creativity (not to mention the massive construction project just outside…). The IdeaLab has been undergoing renovations and redesigns to better serve the whole community. We’ll be writing another post about that whole process, but for this post I’ll be focusing on one of our newest tools: our 3D printer. This post will also focus primarily on our initial prints, rather than how-tos, but those will also be coming in the future.
After a lot of consideration, talking with experts, and looking at samples, we decided to go with an Ultimaker2+, one of the most highly-regarded 3D printers on the market. It’s a very dependable, well-supported machine, and looks fantastic too.
As part of the initial set-up, we needed to calibrate and configure the machine. This took a few hours, as the build plate (the section that the 3D printer prints onto) needs to be perfectly level. This level of specificity goes beyond the standard bubble level; we were dealing with differences in size of less than the thickness of a piece of computer paper. With our filament loaded and the plate leveled, we printed our first test print: a little robot designed by Ultimaker.
After that success, Andrew had me get a large file off of Thingiverse to print. Thingiverse is an online community where people upload 3D files for others to download, modify, and print. It can be a rabbithole for time, as there is so much incredible content available to browse and look through. I ended up choosing an owl pen holder. You can see it on Thingiverse by clicking here. This was addicting to watch the 3D printer layer up piece by piece, so we set up our timelapse camera to shoot the print. Check it out below! (For reference, this five-inch-tall owl took about 27 hours to print, as each layer is less than the width of a human hair in thickness.)
Here’s what the final product looks like. It’s surprisingly sturdy and solid.
In late July, I attended and presented at the Minnesota eLearning Summit 2016 at the Minneapolis Community and Technical College. My presentation, Writing with Light: Building A Low-Cost Lightboard at Carleton College, was selected as a session. I’ve embedded a screencast of it below, as well as on YouTube. Here’s how my conference went, as a story in annotated tweets…
I was selected as one of the speakers for the summit and chose to speak on the Lightboard, which we designed and built at Carleton College. Our Lightboard is notable for its very low cost and ease of use.
It was thrilling to see Randy Bass speak again. He came to Carleton last fall and gave an engaging and thrilling set of talks, inspiring us to think about the future of education and our roles within it.
If we were designing higher education for this moment in history, what would it look like? -@RandyBassGU #mnsummit2016
The power of scale as it affects technology and education cannot be underestimated. We can use this scale to great advantage. We must also be careful of how scale can overwhelm.
ePortfolios: most important is that they connect disparate sectors of a student's education. -@RandyBassGU #mnsummit2016
My excitement went into overdrive went Dr. Bass started talking about ePortfolios. This is an area of intense interest for me. Dr. Bass had some very interesting data on ePortfolios.
Incredible data from @RandyBassGU on #ePortfolios… Pretty strong correlations between retention and presence of ePortfolios #mnsummit2016
Most impressive was the correlation between use of an ePortfolio and retention. It seems like students who use the ePortfolios to reflect on their work and themselves take more away from lessons.
Knowledge of the Domain, World, and Yourself… What every course should teach… @RandyBassGU #mnsummit2016
Finally, Dr. Bass ended with an appeal to have every course teach three things: knowledge of the Domain, knowledge of the World, and Knowledge of Oneself. These three overlap to create an transformative learning experience.
Then it was time for the Lightboard! I had an engaged group who really enjoyed getting the details on how our Lightboard functions and playing with the scale model I brought with me.
Next I attended a fantastic talk on various ways to use Google apps, such as docs and forms, to enhance the classroom experience. Wendy gave an engaging, well-organized presentation.
Great tip from @wwolfe105 – Search Google Images using "site:.gov" to find high quality public domain images. #mnsummit2016
Next, I saw a short presentation on informed course design. This was very interesting as they emphasized the need for teams to be comprised of diverse perspectives in order to better meet learners.
There is big money in the LMS sector. It’s impressive to think about and we should be pretty thoughtful about why so much money is funnelling towards it.
Often, straight-up lecture is not the best way to convey information. This is especially true for online classes, but we can take ideas of working around this and apply it to the classroom as well.
"Scavenger learning" – send students out to discover answers with well-designed questions. #mnsummit2016
Creating and sharing resources is a major component of online learning and teaching. We can take that culture and bring it to the traditional classroom.
This is a great thing for instructors to remember. Different students learn in different ways. If you engage them on all fronts, they’ll have a better chance of retaining knowledge.
…and then we were done! This was a great conference. I met and interacted with some passionate educators and other academic technologists. There are so many impressive and incredible things happening in this space. It makes me excited for the future of education.
Earlier this month, we were part of the ITS team that organized a major piece of the All Staff Retreat. Because this year was the tenth anniversary of the first staff retreat, the theme revolved around looking ten years back (to 2005, and ten ten years into the future (to 2025). As technology is a very visible indicator of change and progress, ITS was asked to prepare some activities that would help show what would be coming in the future. Although we focused on a variety of differences between the past, present, and future, our activities reflected two main changes: the rise of social media over the past ten years and the impending rise of Virtual Reality over the next ten years. Our social media activity involved pre-installing social media apps onto iPads for groups at each of the tables to share how they use social media and what apps they enjoy using. For exploring virtual reality, we put together Google Cardboard units and had ITS staff trained in how to use them. We’ll explore each of these activities a little more below, but start by discussing the preparations that went into the Google Cardboard activity.
About Google Cardboard
To understand the activity, it’s also important to understand what Google Cardboard is. Essentially, it’s a piece of a piece of cleverly folded cardboard with two plastic lenses that will hold a smartphone. This creates a low-cost, decent-quality virtual reality viewer. It’s particularly clever because it uses the phone for processing power, screens, gyroscopes, and storage of virtual reality applications, instead of making the user pay for those separately.
Google Cardboard (Image from Slashgear.com)
How exactly does Google Cardboard work?The effect is very similar to how one’s eyes work. Essentially, the smartphone takes a single image, and then splits into two slightly different images that are then distorted a bit. When viewed through the Google Cardboard lenses, these two images merge into one immersive image. It takes this trick a step further by using the motion-sensing gyroscopes within the smartphone to match how the phone moves. This allows one to turn around and look up and down, furthering the feeling of “immersion” in the experience.
There are a variety of apps and experiences that are possible with Google Cardboard. We built a page that explores the basic apps to get, as well as which cardboard units we bought for the presentation. You can find it by clicking here. We highly recommend starting with the Google Cardboard app.
Preparations Part I: ITS Meeting
Part of the experience of Google Cardboard is the fun and cool-factor of assembling it from the flat cardboard sheet. We originally wanted to give the full staff meeting a chance to try it out themselves, but decided to do a dry run with the All ITS meeting first. This turned out to be a good idea, because the Cardboard units proved a little more confusing than we had expected, and took more time to assemble. While the ITS staff had a fun time assembling the units, they thought the experience of actually trying out the units was much more rewarding, so we decided to pre-assemble most of the units.
Building the Cardboard Units
With around fifty cardboard units to build, we knew we had some work ahead of us. Luckily, with some helpful student workers and assembly line style work, we managed to get the units put together in no time! The units were very straightforward to assemble. We put together the lens-holding piece, folded the body over it, and installed the velcro pieces on the flap that holds the phone. As a final touch, we added a sticker featuring the ITS logo to each unit to help them all look uniform. Check out the stack of finished units below!
While we had assembled the Cardboard units, we wanted to make sure that everyone at the retreat understood how simple and doable it was to assemble one of these units. We produced the timelapse video below to show the full assembly of a Google Cardboard unit.
The Main Event: Staff Retreat 2015
Staff Retreat was a success, with many teams of people (including ITS) working to create a great experience for everyone who attended. The main speaker, Tracy Knofla, was the speaker at the first staff retreat ten years ago and the Retreat Committee brought her back to mark the ten year anniversary. We began with a great icebreaker that would’ve proved difficult ten years ago: take a selfie with as many people as possible, and if you aren’t able to take a selfie, photo-bomb as many people as possible.
As ITS, we followed with a look at what’s changed at Carleton and in the world in the past ten years in a presentation by Janet Scannell. This transitioned into a presentation on Google Cardboard by Troy Barkmeier and Eric Mistry. We then had ITS members stationed at each of the tables to introduce their colleagues to Google Cardboard, Virtual Reality (VR), and social media apps. We had had the ITS activity leaders pre-download apps and VR videos to their phones, so they were able to get the groups started immediately. It was a collaborative and engaging effort to introduce our staff to an accessible, affordable future technology. As we said in our presentation:
Now obviously, this isn’t a super sophisticated or comfortable object, but it allows anyone with a smartphone to cheaply and easily try out virtual reality. We think you’ll really enjoy the magic this simple tool creates. You’ll be travel the foot of the Eiffel Tower and look around, immerse yourself in the opening song of the Lion King Musical, or investigate a New York Times story even closer.
In addition to our VR activity, we had a variety of other activities. As previously mentioned, we had iPads on every table preloaded with a variety of social media apps (thanks Randy Hoffner!) that would allow those who weren’t actively using the Google Cardboard to explore and show each other their favorite social media apps. We also had some great side tables featuring other technologies. Ann from the Library brought great information and demos on the Library’s new Overdrive eBook system; Mark from Physics had a 3D printer that can make nearly anything imaginable; Wei-Hsin showed the world with Google Earth and GIS; and Eric from communications had an awesome high-end drone to check out. Matching the theme of the Retreat, Troy assembled a “Museum of 2005” that featured the technology used in 2005, from an iPod Classic, to an older iMac, to the famed Motorola Razr.
In all, we found that the activities were high energy and engaging for all the attendees. Thanks to the great team spirit of ITS and the other organizers and volunteers, we created an exciting experience with a positive vision towards the future. Here are some pictures from the event! (More on the original post)
Every day of my Carleton job has been a new adventure. I get opportunities to work on creative, innovative projects that I get to run fairly autonomously. In this post, I’ll be talking about the Lightboard.
The Lightboard was one of the first projects I was assigned to during my starting week at Carleton. I was given the following problem: research other Lightboards around the country, and try to figure out how to make ours work well. Before we delve into solving the problem, I should probably answer the most obvious question: what is a Lightboard?
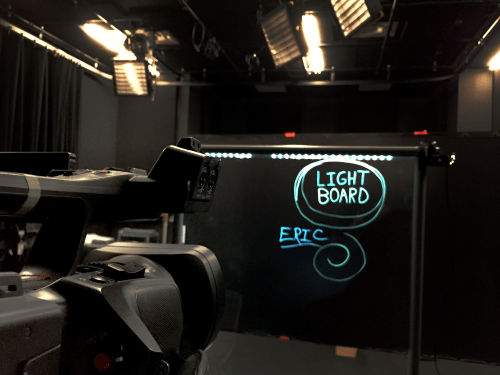
A lightboard is, in essence, a clear whiteboard. The instructor stands on one side of it and writes on it with a fluorescent marker. A camera is on the other side that captures the writing that glows on the screen. The footage is then flipped, cropped, and edited for color and lighting. We end up with footage that captures not only what the instructors are writing, but also their full expressions and face, rather than their back or hands.
This is our basic Lightboard setup (This was pre-wiring of the Lightboard)
The original Lightboard was developed at Northwestern by Michael Peshkin, a professor of Physics. His site not only shows his (very sophisticated) Lightboard build, but collects build instructions and documentation from Lightboards at schools around the world. This was extremely helpful in figuring out how to solve our own issues with the Lightboard.
With that brief introduction, back to the problem at hand. We already had a frame with plexiglass installed, but it was nearly impossible to capture what was being written on the board, and the audio was also muffled. The audio problem was relatively easy to solve; we simply attach a wireless lavolier microphone to the presenter, and the audio streams directly to the camera, instead of having to go through the plexiglass. Solving the visual issues was a bit more of a process. First of all, the plexiglass was extremely reflective, and our first attempts often captured more of the camera than the presenter. Second, if the presenter was well-lit enough to see, it meant that any writing was impossible to see. This was what an early test looked like.
Idea 1: Adding lights to the board surface.
First, I attempted to add better lighting to the outside of board. This was simple enough. I had bought some simple IKEA lights [link] to install in my apartment bookshelves, and figured they might help light the surface of the board, as they were relatively flat and easy to place where I wanted. I stuck them on the front of the plexiglass and angled them down, hoping that it would help make both the markers and the presenter more visible. It did help, but not in the right way. Even with fluorescent markers, the writing was barely distinguishable.
Next, I tried adding blacklights to the board. My reasoning was that backlights help things glow, and that it would really boost the intensity of the fluorescent markers. Spoiler alert: It didn’t work. Even with the blacklight, the markers barely glowed. At this point, it became pretty clear that attaching any manner of lights to the surface of the board was not going to work.
Idea 2: Installing lights directly to the side of the plexiglass.
After studying the documentation and other builds more closely, I decided to test what happened when I added lights directly on the edge of plexiglass. I borrowed a spare piece of plexiglass and attached the lights on the edge facing inward. The entire piece glowed as the plexiglass conducted the light from edge to edge. I mounted that piece onto our existing board and did a side by side comparison. The difference, as you can see in the videos below, is very apparent.
With the difference made clear, I got permission from Ben at St. Olaf to physically modify the board so I could install the lighting properly on the top edge of the unit. I removed the top piece and a few support pieces and began to get to work. I lucked out and found that this board had a grove that would perfectly fit the IKEA lights. I installed the lights, remounted the top piece, and added a power strip to the board’s base. The change in quality was fantastic.
Better lighting and editing
With the board now effectively lit, I got to focus on lighting and editing the footage. With lighting, I’ve found that placing a light on both sides of the board to gently light the presenter works quite well. It can’t be too focused, or it creates jarring dramatic shadows. It also can’t be too diffuse, or the board begins to have reflection issues. We also shoot in an otherwise dark studio, with a black background behind the presenter. We use a polarizing filter on our tripod-mounted camera to further reduce reflections, and also cover the red “recording” light with painters tape to ensure it does not reflect on the board.
After we’ve shot the footage, it goes through a brief editing process. I use Adobe Premiere to edit, but the necessary changes would likely be possible on less expensive or free software. I start by color correcting the video, then super-saturating the specific blue of the marker we use to make it extra-visible on the final product. I then apply mirror image filter (called horizontal flip in Premiere) so the writing is facing the proper way, and crop and scale the video so that we only see the board, and not any of the lights or frame. The video is then exported and sent to the presenter for their class or presentations.
We’ve had some really interesting uses so far, even in this initial experimental stage. One of my favorites has been Japanese symbol lessons developed by visiting Professor Miaki Habuka. She has her TA go over the symbols that students in her Intermediate Japanese class need to learn. By using the Lightboard, her students are able to see each stroke of the symbols as they are written, which is an important component in understanding how to properly write in Japanese. Check out the video below to see an example of one of the language lessons. This is just one of the many uses for the Lightboard, and we’re looking forward to many more amazing projects to come.
This is just the beginning of the Lightboard. In later posts, I’m planning to write a more in-depth guide to our specific build with pricing, instructions, and advice. I’ll also continue to show more examples of finished videos and additional modifications or builds.
It’s been a wild year of adventure, but I’m back and cleaning up my blog. Expect things to change rapidly, as I work through different iterations as this blog takes new shape to fit its new purposes.
I’m now employed at Carleton College as an Associate for Academic Technology. In a nutshell, this means that I help faculty, staff, and students with the “why” and “what” questions when it comes to integrating technology into the classroom. As a team, we are placing a big emphasis on the pedagogy behind using and teaching technology, and continually experimenting and iterating to create the best possible results for everyone who we work with.
So far, I’ve been having a fantastic time and learning a ton.* This field is incredibly interesting to me, and really an ideal combination of my two passions, education and technology. I’m anticipating a variety of posts on my new work, some more casual posts about life as a twenty-something young professional, and my various projects that I end up pursuing.
So, dear reader, welcome back. I’ve missed you.
*An actual post with further elaboration of my current roles will be coming soon!
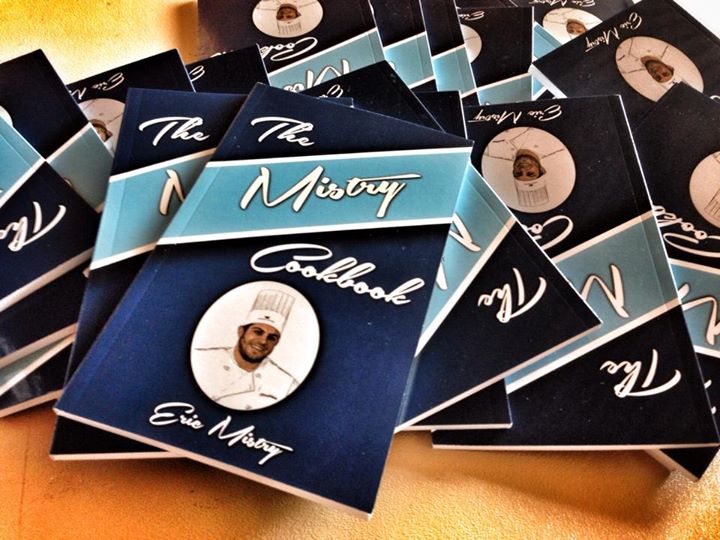
At every meal in College, I tried to make a new dish. Some experiments went well, others less so. The successful dishes made it into my bi-weekly Scarlet & Black column, “Better Know a Dining Hall,” about different dishes and other creations to make in the Dining Hall. My senior year, I decided to turn my various recipes and techniques for Dining Hall cooking into something less ephemeral than a newspaper column. I applied for and obtained funding from the Student Publications and Radio Committee to create and publish my very own cookbook.
Throughout the year, I collected, retested, and honed the recipes for publishing. My goal was to give people a starting point with broadly adaptable base recipes. I wanted to share my experiences and experiments to help everyone eat healthfully and deliciously. This cookbook was the result. I’m releasing it for free in .pdf format for anyone to print and use for themselves.*
LINK TO THE COOKBOOK: https://drive.google.com/file/d/0B5daMBM9Z_btOVdvNldvWGJTZ0k/edit?usp=sharing
The cover
(Please note that I retain all copyrights, IP, etc. Feel free to print and distribute in full, but please do not attempt to sell this or pass it off as your own. Thanks! -E)
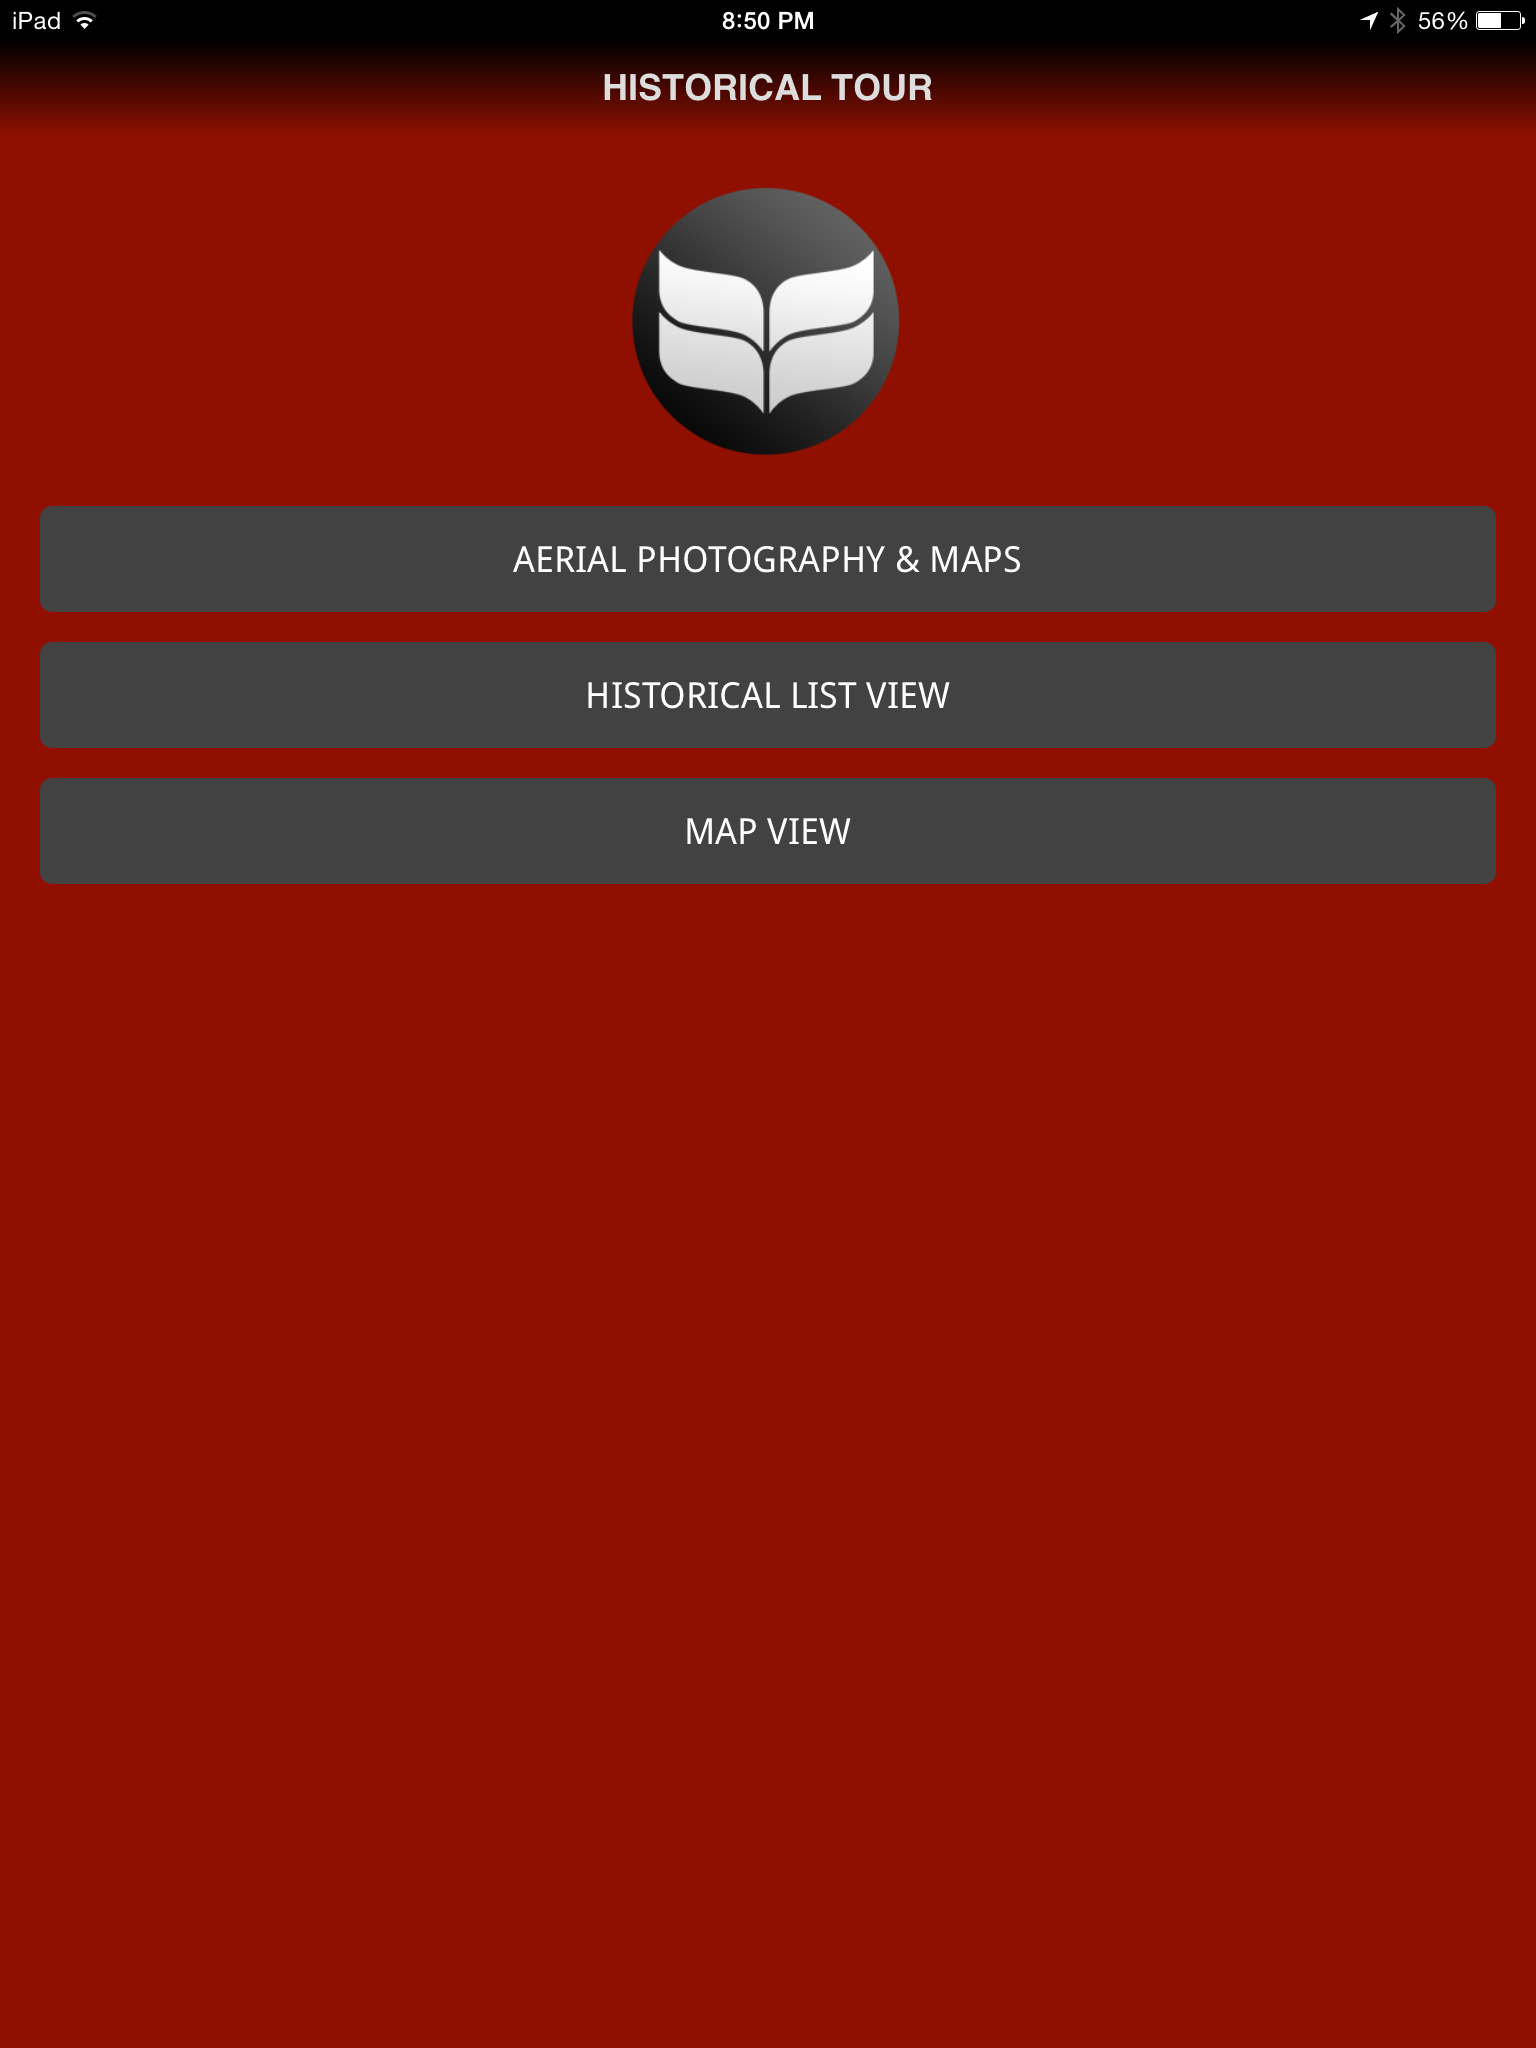
TourGrinnell, the campus and historical tour app I built for my Mentored Advanced Project, is now ready for download on both of the major app stores. It was built for Apple and Android devices and is FREE to download.
It includes a map view marking the locations of the current and past campus buildings, as well as a detailed list view with in-depth information on and many pictures of the various campus buildings of past and present.
Enjoy, and spread the word to Grinnellians everywhere!
Last week, I presented part of my MAP research and did a quick demo of my app for the audience. It was a great experience and I enjoyed getting to interact with the audience and answer questions afterwards. Here are my slides, with a transcription of my talk below each slide.
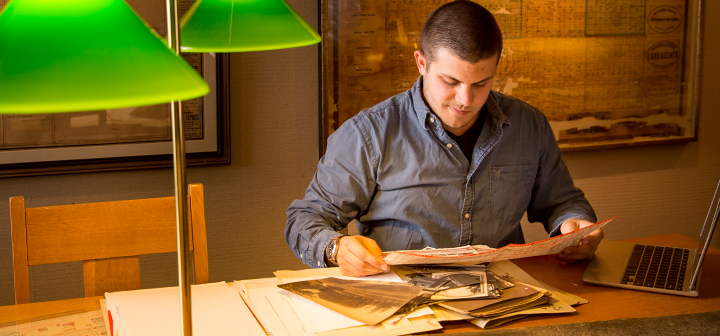
SLIDE 1: Hello! My name is Eric Mistry, and I’m a senior History Major and Technology Studies Concentrator. I am here today to talk to you about my yearlong MAP project, which I like to call the MAP MAP APP.SLIDE 2: My project is a smartphone and tablet app designed to make exploring the history of the old and current buildings here at Grinnell College easy and accessible. It contains two main components, a Google Map of the old and current campus buildings, as well as a section that contains indepth historical information and more pictures.SLIDE 3: My talk today will cover a few components of my project. First, I’ll examine the questions of Grinnell’s past and present that led me to my topic of research. Next, I’ll explain a bit about the Digital Humanities, and how this upcoming field has really influenced my project. After that I’ll explain how my MAP advisor, Sarah Purcell, and I came to decide that building an app was a better fit for the project than my original plan to have an ebook. Finally, I’ll explain a bit about learning how to build an app, and the many resources I found along the way. We’ll then see a brief demo of the latest app prototype.SLIDE 4: Something I’ve come to realize with my research is that campus is incredibly fluid, as students, we exist here for four years, just a brief moment of the College’s history. I came into this project really interested in seeing how the changing buildings on campus affect student life. My grandparents came here in the early sixties, my Grandpa is a chemistry professor and my grandma ran the Forum. The Grinnell they arrived at is very different than the Grinnell of today. In fact, many of the buildings that were here upon their arrival are now gone or completely transformed. My dad came here from Mumbai in the early 80s as a student, and his stories of Grinnell revolve around the Forum and the PEC. My campus life revolves around the JRC, the Bear, and East Campus, none of which were around when my dad went here. I’m curious to think of what the campus will look like when its my kids or grandkids coming here. Norris will still be here, but what else will be?SLIDE 5: As I dove into researching the college buildings, I found a wealth of incredible information hidden in the archives, buildings that once dominated campus life were forgotten. I’ve even seen this history disappearing from the recent campus. The PEC was demolished my first year, now almost no students on campus have any idea what it even was. We have an incredibly short institutional memory due to only being here for a brief flash of time. That led me to the question, “How can this history of the college be spread and preserved?” A history paper or display just would not cut it. I found the answer thanks to a little help from the Digital Humanities.SLIDE 6: A relatively new field called digital humanities is asking a similar style of question. Here’s a brief definition from Matthew Kirschenbaum- “The digital humanities, also known as humanities computing, is a field of study, research, teaching, and invention concerned with the intersection of computing and the disciplines of the humanities. It is methodological by nature and interdisciplinary in scope. It involves investigation, analysis, synthesis and presentation of information in electronic form. It studies how these media affect the disciplines in which they are used, and what these disciplines have to contribute to our knowledge of computing.” In short, it’s a field that looks at what happens when the humanities meets technology and the two create something new. In our discussions of the digital humanities, my MAP advisor, Sarah Purcell, and I came to find a few key tenets of the digital humanities. 1. Make something new 2. Combine new and old methods 3. Use data in new ways & 4. Engage in interdisciplinary work.It was these tenets that led me to decide to make an app.SLIDE 7: Originally, I intended to write a history of each of the college buildings and present the information in an ebook, making distribution incredibly easy and making my project “digital”. However, as we talked, Professor Purcell and I realized that there wasn’t very much of the philosophy of the Digital Humanities in this idea. The form may be digital, but at heart, it was just another history paper. We focused on the tenet of making something new and thought about ideas to use the data in new ways. We then started thinking about making an interactive ebook, at which point the now obvious idea to create an app was suggested by Professor Purcell. We both thought it was a great way to create something new and engage in some interdisciplinary work. There was only one small problem to solve. I had about zero programming experience.SLIDE 8: Luckily, I had some design experience, and a wealth of tools and resources helped me along the way. The main class that helped me in building the app was TEC295- a course I took last year on Value Sensitive Design. I used the lessons learned in that class to identify my primary stakeholders, those who would be using the app, and realized the app had to be easily accessible on whatever technology they had, and it had to be very simple to navigate. This led me to try to find something to program apps in HTML5, which is the main programming language that many websites are built in. It can display content on a wealth of devices, so I thought it made a good choice. That led me to discover a software platform called Intel XDK (an unexpected Grinnell connection right there!) It essentially lets me program the app once, in HTML5, and then packages the files so I can build apps for iPhones, iPads, Android devices, Facebook apps, Chrome apps, and many more systems. I had found the perfect tool, now I just needed to learn to program. I learned HTML5 and a few other necessary programming languages using a service called Codecademy. Codecademy is a free, online-learning resource that teaches you code at your own pace by using instructions and actual coding projects to help you learn. While it is no replacement for a computer science course, it was crucial in helping me learn. Besides the Intel XDK and Codecademy, my biggest resource was Grinnellians, from my advisors who checked in on my project regularly, to Catherine Rod and Chris Jones in the archives, who helped me unearth the treasures, to the offices of admissions, ITS, and communications for their assistance, to my fellow students, who helped test the app, and in the case of some of my AppDev floormates, helped me fix a few minor issues before they became major issues. In short, I had to learn a ton to actually make this project happen, but it’s also been incredibly fulfilling. It’s also been interesting to see these new technical skills mixing with the traditional skills of my humanities background. I was still doing pretty standard historical research, including using the decidedly non-digital technology of the card catalog to work my way through the archives and find this information. All of this normal research combined with my newfound (and still somewhat weak) programming skills to create a unique project, my Grinnell MAP Map App.Without further ado, here’s a quick demo of the latest app prototype! APP DEMO: We start out at this intro page. Let’s take a tour! We can choose from either a campus tour or a historical tour. Let’s check on the historical tour. The map view is my personal favorite part of the project, so we’ll start there. The map you see here has two types of markers. The red markers are the current day campus buildings, and the blue markers are buildings that no longer exist. When you tap on a marker, you get some information and a picture. If you want more information, I’d encourage you to check out the list view. Here’s north campus, for example. For a building from the past, here’s Blair Hall. Now, I’ll take us briefly back to the historical list view, so we can see a bit more information and pictures. … On this section, we simply tap on the name of the building we want to explore. Take Blair Hall, for instance. It was one of the first three buildings built after the cyclone in 1882. Here’s some more historical information, as well as some more pictures of the building. That’s unfortunately all we have time for today, but I will be presenting my full MAP research, as well as the finished app, on the evening of April 29th in ARH 302.
To me, this app is a different way of presenting history- with huge potential for changing the size of an audience. If I had written a paper, or even made a small exhibit covering the same material, it may be read or examined by those who are interested in the topic, but would likely end up buried in an archive. With this app, the history is placed directly in one’s hands, whether on a tablet, or a smartphone, or even a computer. Because of that, anyone can look at it or find it. It’s also easier to navigate an app than to read a paper, which lowers yet another barrier to entry. As app creation becomes simpler, I’m willing to bet we’ll see it expand into academia as a common product of research. It also makes interacting with the data so much easier. This initial project, this foray into the Digital Humanities, has not been easy, but it has been fulfilling. I went from having zero programming experience to creating an app in a semester. I also had the unique opportunity to combine my two passions, history and technology. They don’t often mix, but when they do, the results can be wonderful. Thank you very much.
Social media is slowly but surely becoming a part of every student’s life. However, they’re not the only ones. Some Grinnell professors have turned to Twitter as a way to personally and lightly engage their students outside of just the classroom.
“If I find an article that relates to a class I’m teaching, I’ll repost it using a hashtag that’s specific to the course that’s ideally going to create this sort of dialogue that will continue not just beyond the classroom, but beyond the course itself,” said Carolyn Lewis (@CaroHerbLew), History.
Twitter has been seen as a viable forum for academic discussion and tweets are becoming increasingly relevant in academic discussion.
“I think it’s scary and wonderful, on both a personal and professional level,” Lewis said. “One of the things that my students have talked about this past semester is how are we going to use these [tweets] as primary sources. It’s terrifying, but also exciting from a cultural standpoint.”
Other professors, such as Dean Bakopoulos (@DeanBakopoulos), English, use Twitter as a way to help students ask questions they find relevant to the course or would like to engage outside perspectives and resources.
Twitter is also an easy place for professors to simply share things that they find interesting or relevant to their students and peers and to find new information for themselves.
“A lot of Twitter is recommending articles back and forth, sometimes not even full articles, but websites, blogs, things like that,” said Director of the Rosenfield Program Sarah Purcell (@SarahJPurcell), History. “There is a personal friendly side to it. If I tweet about something that we’re doing in class, then I get the reaction from alumni and people from other institutions talking about that kind of thing.”
But Twitter exchanges are not to be taken solely as friendly and trivial. Conversations on Twitter can also lead to connections and collaborations.
“I encouraged my summer students to use Twitter as a way to network and to find out ways to use technology in their project,” Purcell revealed. “One of my students was able to connect with someone on Twitter who was absolutely integral in answering research questions about his project.”
One of the trickiest parts about social media for professors has been interaction with students.
“I’ve made it clear I have no interest in following my students on Twitter. I remember when I first mentioned [Twitter], the looks of horror on people’s faces. But I always remind them, you shouldn’t be putting anything on Twitter that you wouldn’t want your professors to see,” Lewis said.
Professors are also aware of the fact that the purpose of Twitter is not solely for academic research or exchange. For instance, Bakopoulos uses his Twitter feed to promote himself as an author, separate from his work as a professor.
“It’s not really for my students, it’s for any readers of my work. But students often read my work and follow me on Twitter,” he said. “I try to think of [my Twitter] as my writer persona; I never mention my official title at Grinnell in my bio.”
Bakopoulos also noted the difficulty of balancing personal and professional content on Twitter.
“If I was purely a writer and not connected to any institution, I could say whatever I wanted. But I do often have to remember that my students are following me sometimes. It’s a new world for me as far as censoring myself when I have a joke to make,” he said. “Once or twice I’ve deleted a tweet real fast.”
While Lewis and Bakopoulos don’t see back and forth interactions with students as the standard use for their Twitter accounts, Purcell has welcomed it.
“I really embraced the idea that Twitter is meant to be public from the beginning. The idea is that it’s perfectly appropriate, as far as I’m concerned, to connect to students on Twitter and have them follow you,” Purcell said. “It’s also a helpful lesson to remind students that what they say on Twitter is public.”
One thing that the three professors did agree on was that Twitter was sparking conversations and spreading information in new and more efficient ways. Bakopoulos notes this method as being less formal and forceful than sending out class emails suggesting additional readings.
Lewis and Purcell both praised Twitter for how easy it has made connecting to authors or other experts.
“I would never pick up the phone to call a random author to tell them I liked their book. I’m not even going to write them a letter or an email,” Lewis said. “But somehow with Twitter, those boundaries are broken down in a way that you can reach out.”
In spite of its benefits and uses, Purcell sees Twitter as more of an aid to teaching, rather than a main vehicle for education.
“[Twitter’s] not the whole conversation in itself. It’s a facilitator for other conversations that are already going on.” Purcell said. “It can’t replace the classroom or the professional contacts, but it just allows you to make connections and supplement what’s already happening.”
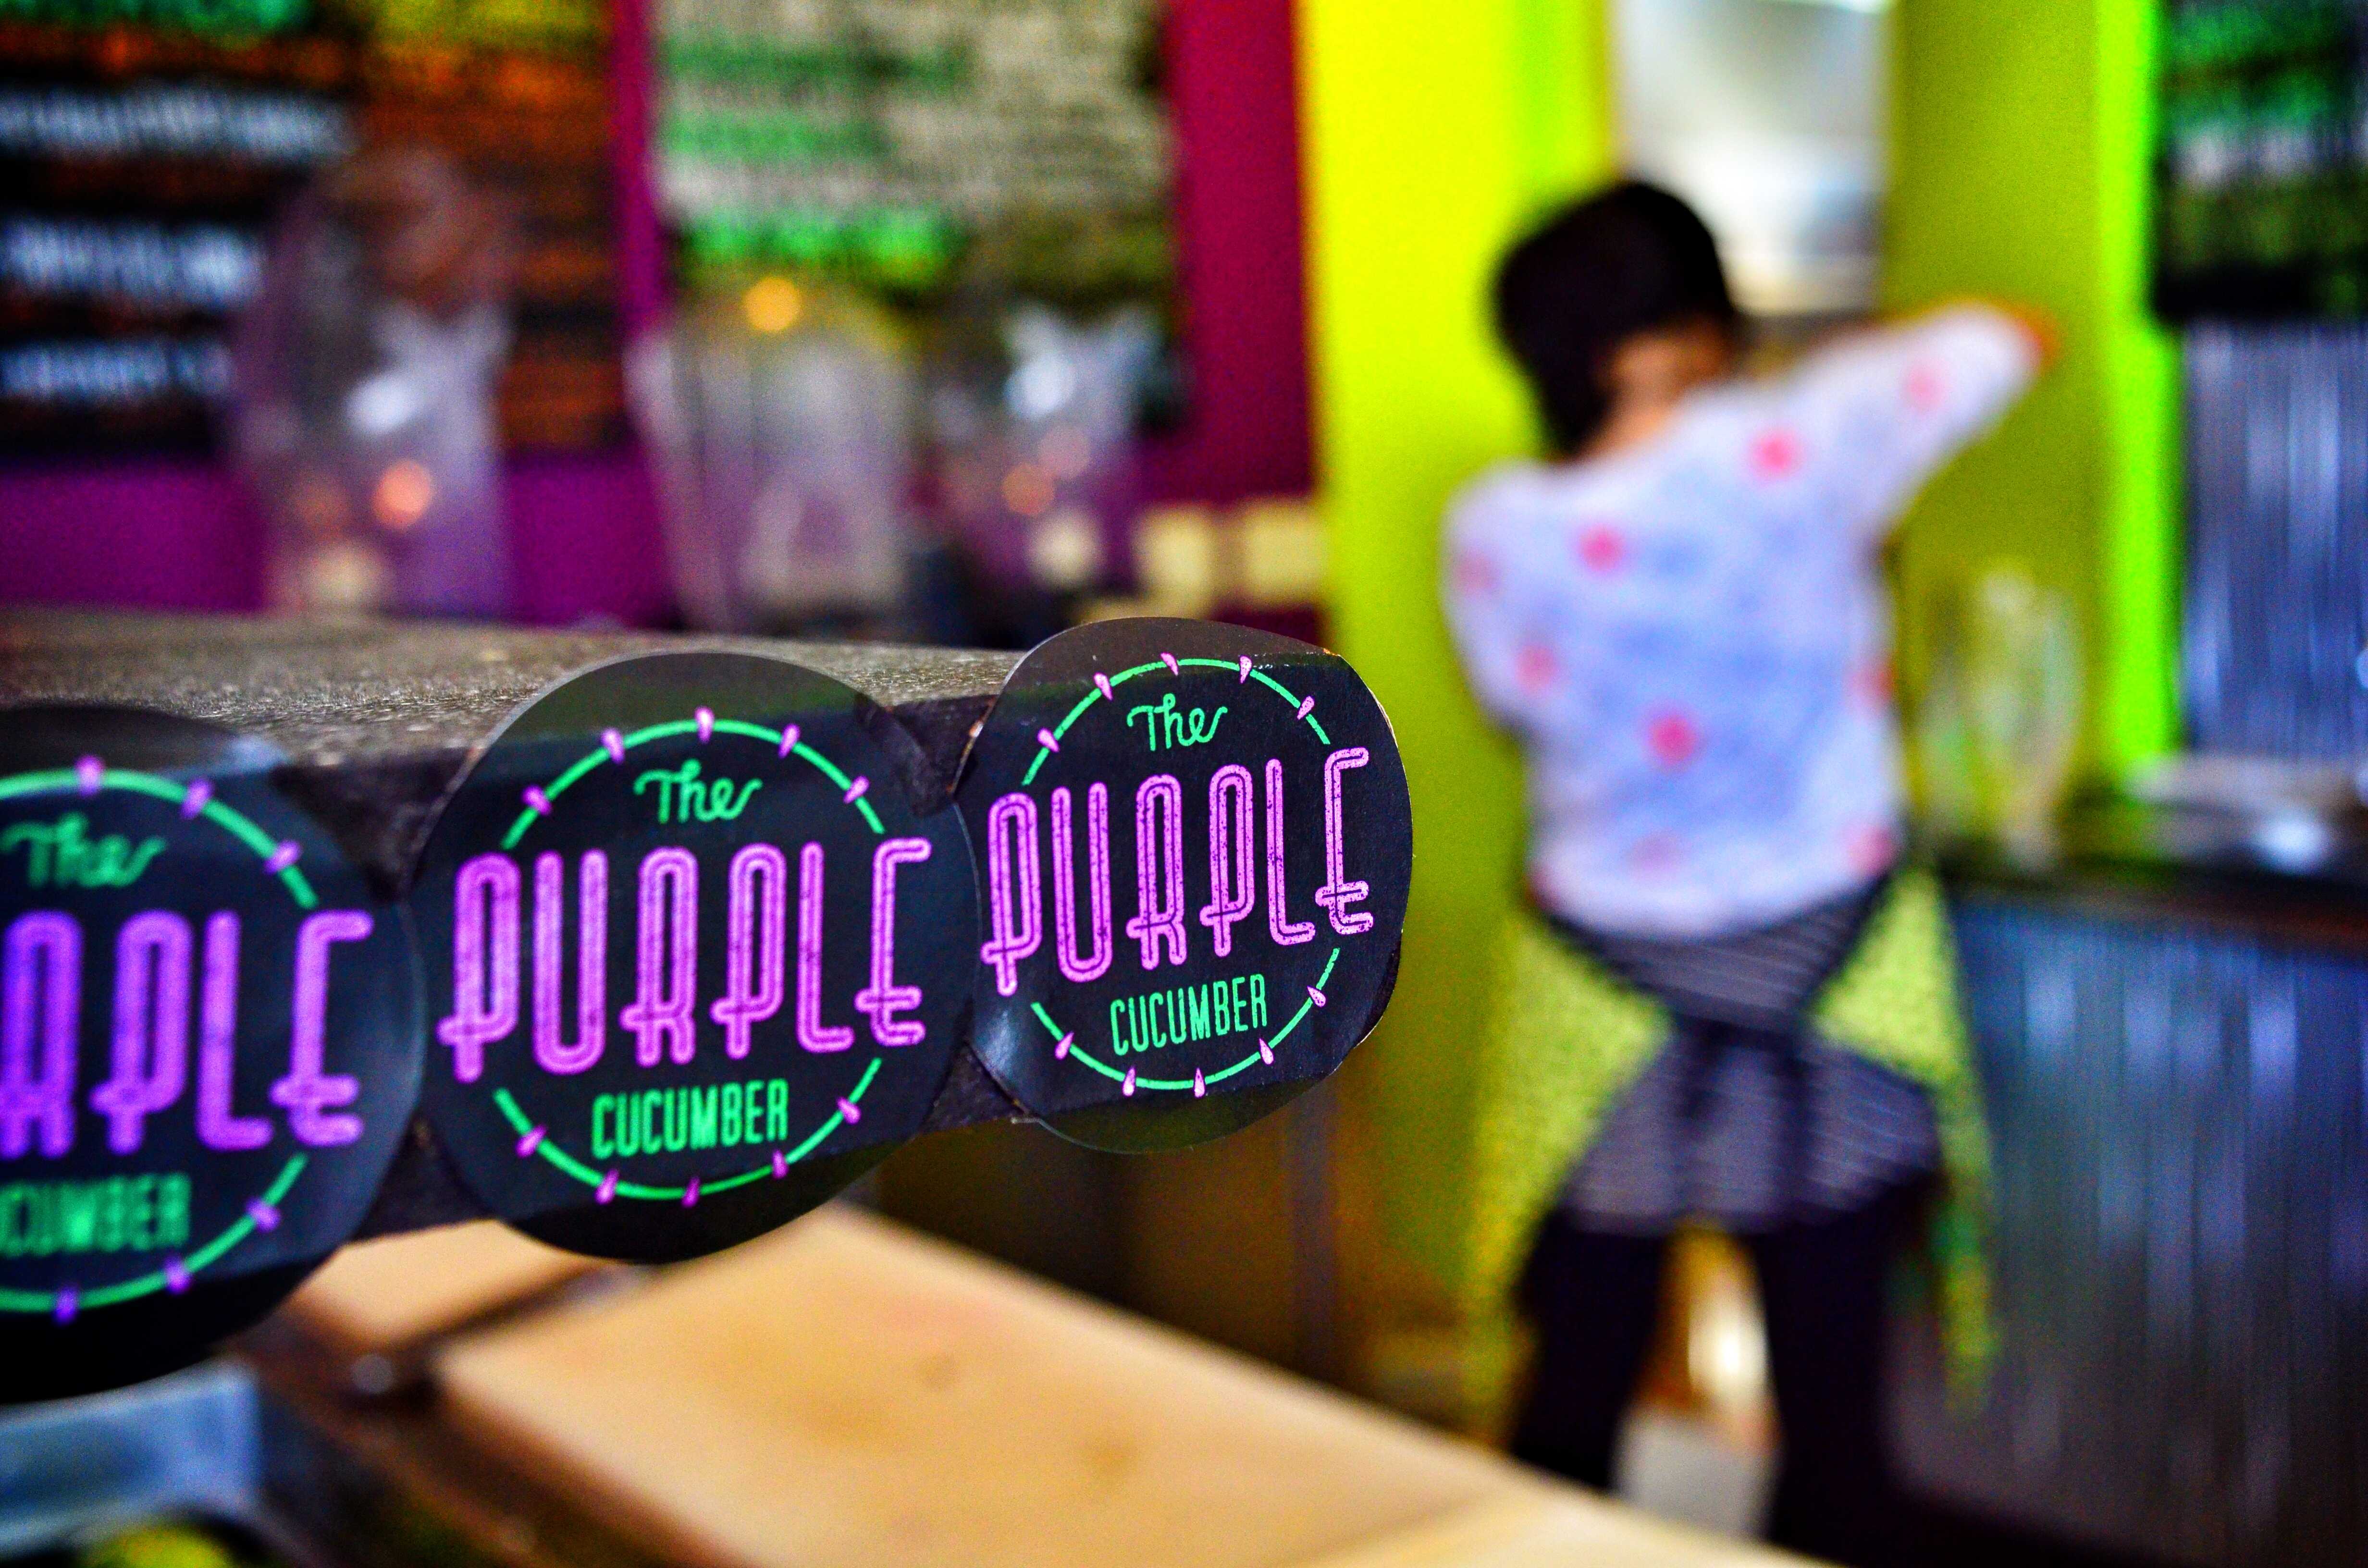
Health-conscious locavores have a new smoothie sipping spot to check out. The Purple Cucumber is a quirky smoothie shop focused on fresh, local and vegan food. Melissa Lewis, the founder of the Purple Cucumber, was sick and tired of the overly processed, relatively unhealthy options, especially after going through a 12-month integrative nutrition course.
“The basic principle of [integrative nutrition] is to avoid the frankenfoods … the additive-ridden, mutated food that we’ve been forced to eat because we have no knowledge of what’s really going on,” Lewis explained.
As a parent, Lewis often encountered trouble finding nutritious and healthy foods in Grinnell, especially when time was short.
“The options here for healthy food are pretty limited, especially if you’re looking for a quick snack that isn’t going to break the bank,” she said.
Consequently, Lewis set about designing a smoothie shop that would serve healthful, nutritious and real ingredients in an environmentally and socially responsible way. However, throughout the process of preparing to open her business, Lewis kept in mind an overarching attitude of having fun.
“One of the things that annoyed me about super health conscious people is how overly serious they can get. Let’s have fun with our food,” she said.
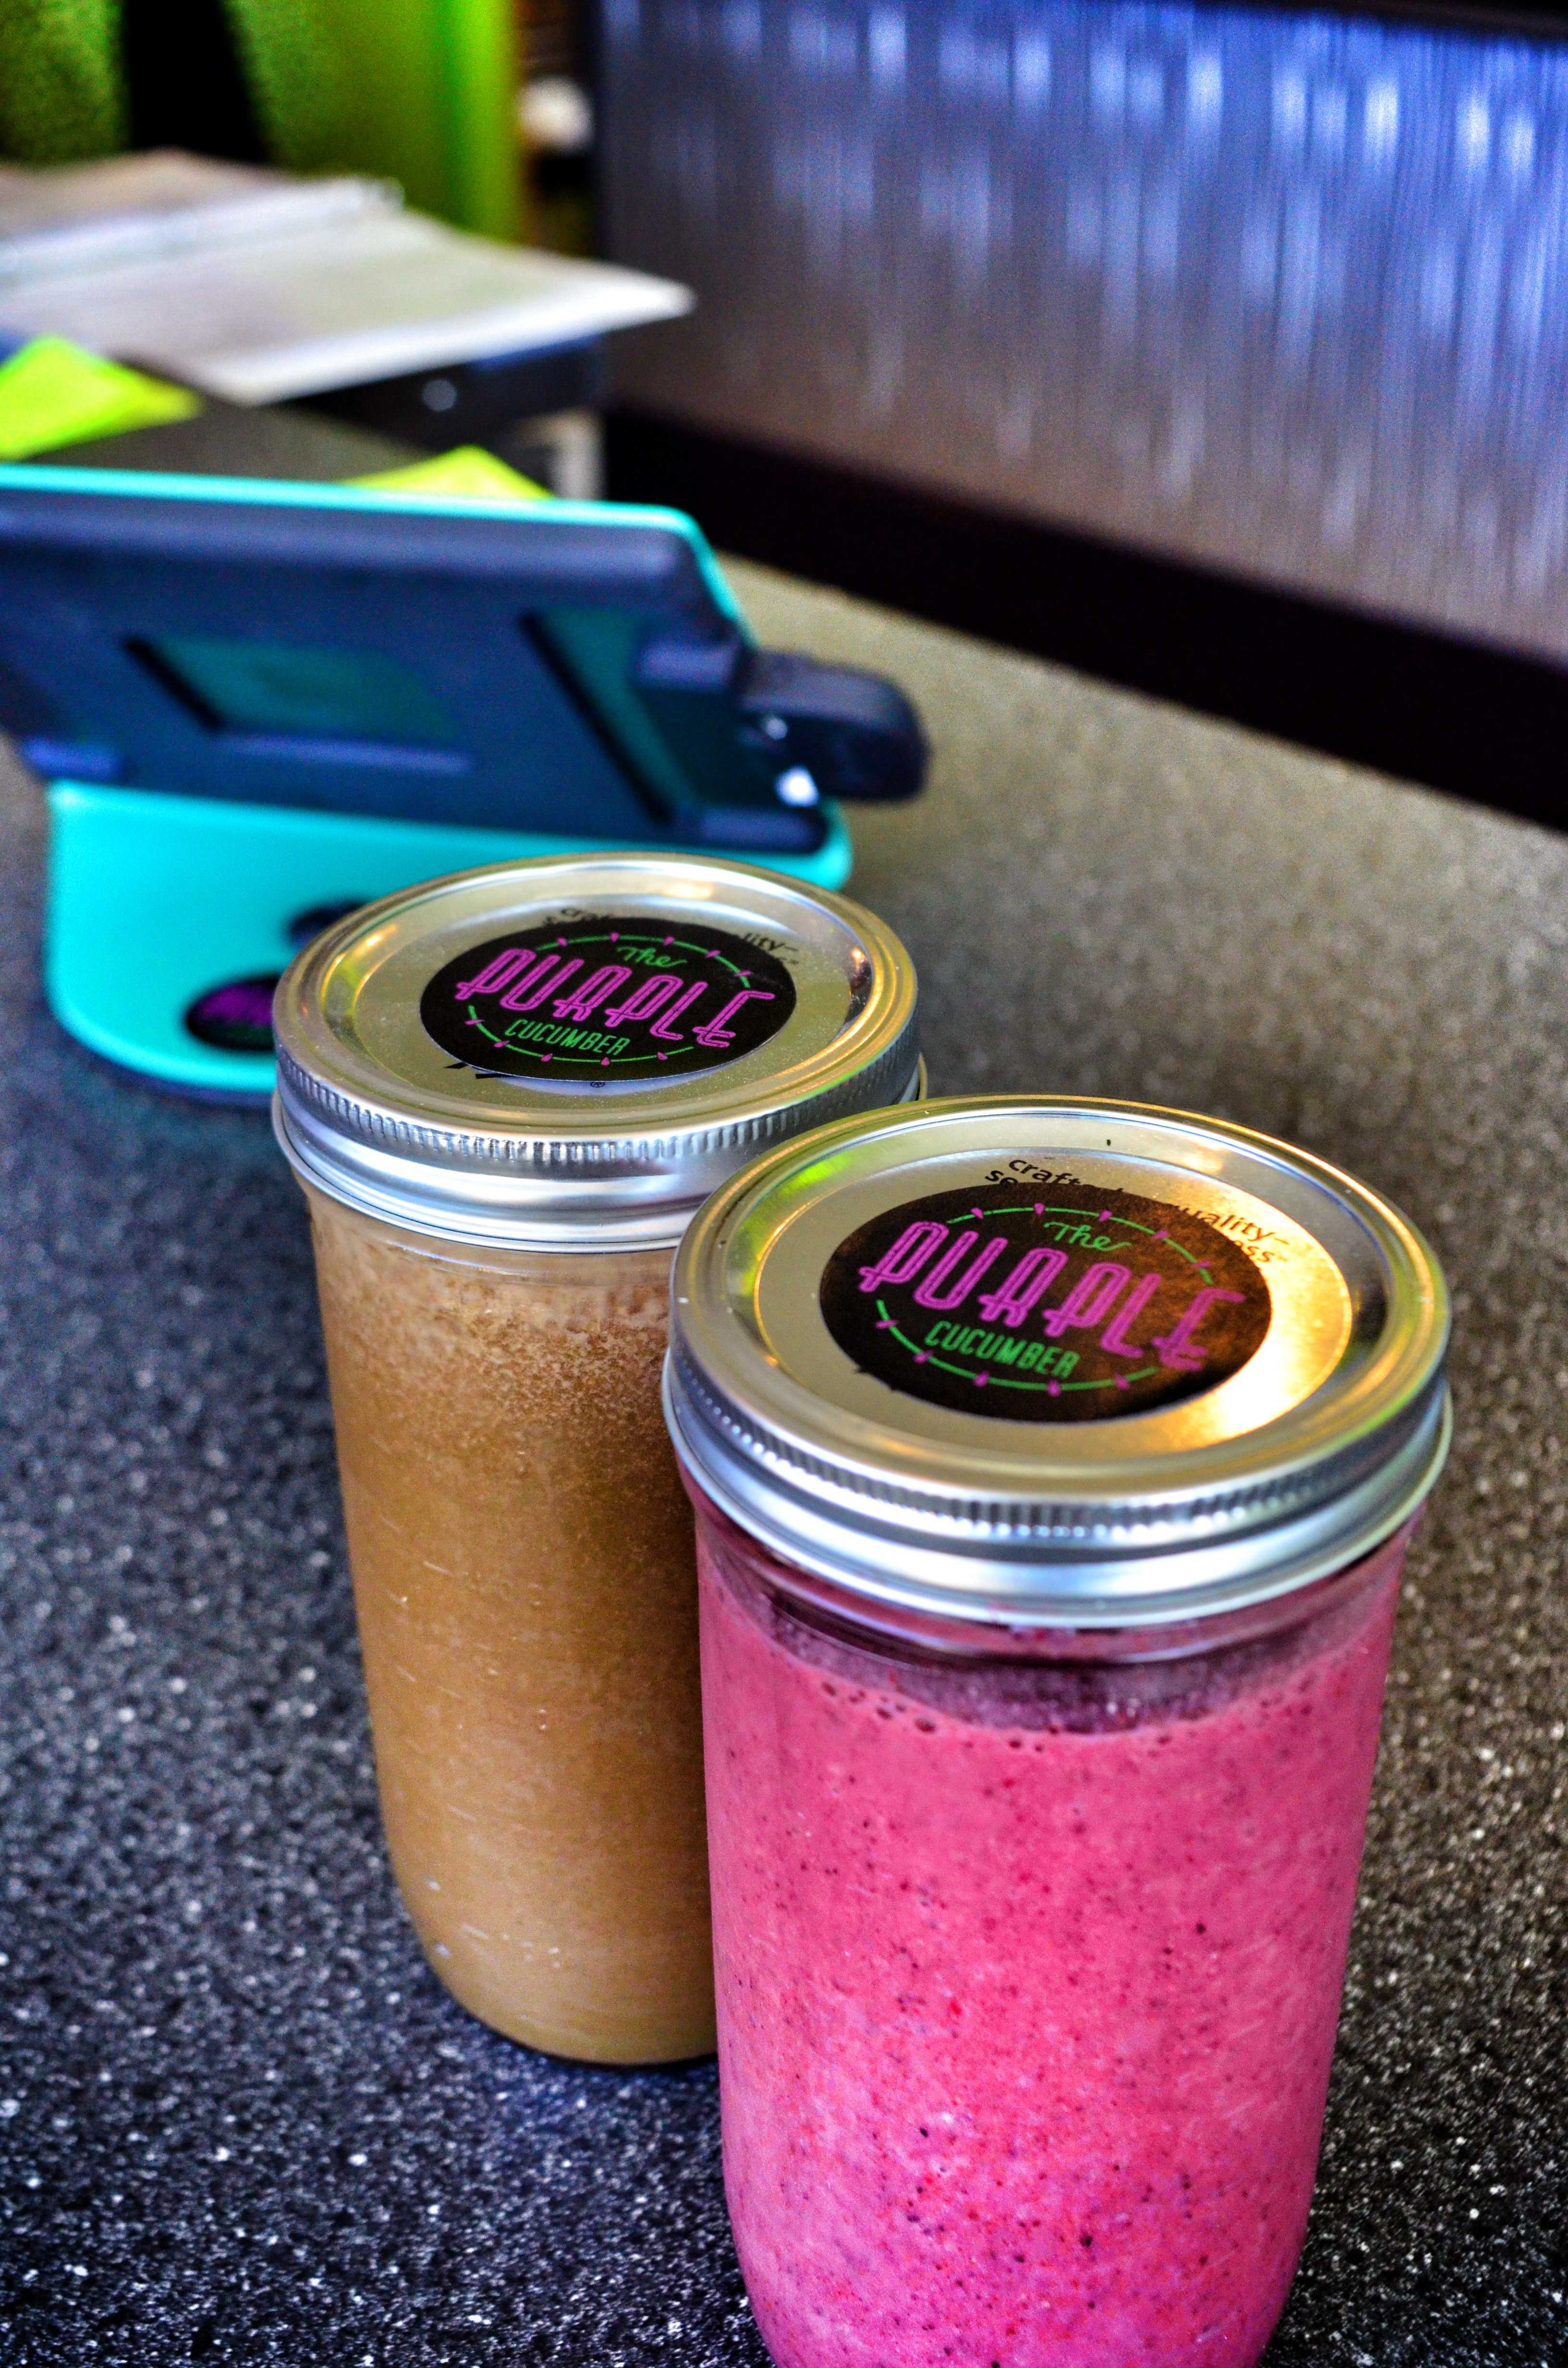
The Purple Cucumber features a vast menu of healthy options with unique personalities. The main focus is on drinks, although a few tasty homemade snacks grace the menu, as well. The smoothie selection is creative, if slightly overwhelming, on first exposure. Luckily, that overwhelming feeling is simply a reaction to the impulse of everything sounding delicious. The menu has more than 25 different smoothie options, but custom smoothies are also available. The pre-designed smoothies, with funny names, such as “Joe Bananas,” “Luau In My Mouth,” and “Just Beat It” are extremely fresh and flavorful.
“We’re kind of quirky and off the wall with some of our items’ names. We have a lot of satire humor,” Lewis said.
In addition to its delectable offerings, the business was intended to maintain environmental consciousness, as well as support other local and community businesses and suppliers—a feat verified by the Purple Cucumber’s menu. Much of the food is locally sourced and the Purple Cucumber plans to be a local Community Supported Agriculture pickup point soon.
Also, the shop has a “Rockin’ the Reusable” promotion, which gives any customer who brings in a reusable container a discount on their purchase. They even sell large mason jars that fit the smoothies perfectly in order help a customer begin his or her own reusable collection.
The Purple Cucumber blends the local foods movement, environmentalism, humor and delicious smoothies into an extremely enjoyable experience. Though it is tough to decide exactly which smoothie to enjoy, the fresh ingredients and creative combinations ensure that it should be fantastic.